1. Locate the controls(Figure 1, circled in cyan) . Most monitors have real buttons on the front or around the back.
2. Position a 100% black image so that it crosses the bottom of the display (Figure 1, circled in red) .
3. Position a 100% white image, such as Figure 2, on the screen (Figure 1, white image, circled in magenta).
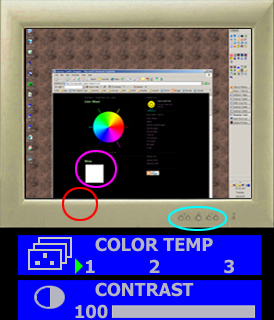
Figure 1: Black and White Calibration Setup. |
Typical "Color Temp" and "Contrast" dialogs |
White Adjustment:
Find the monitor's "color temperature" adjustment. Select the setting which makes Figure 2 look the whitest.

Figure 2: 100% White. |
Using the "Color Temp" monitor control, select the "whitest white". |
Black Adjustment:
1. Use the "vertical size" display control to "squeeze" the display area of the monitor. This will expose black borders at the top and bottom of the display, like letterboxing on a movie.
2. Set the "brightness" to 100%, and make your room dark. There should be a noticable difference between the black of the screen image, and the black border at the bottom, as shown in the red circle in Figure 3.

Figure 3: Setup for Black Adjustment. |
Squeeze the vertical size, and set the brightness to 100%, so the black on the image is brighter than the blank screen at the bottom. |
3. With your room still dark, slowly reduce the brightness until you can't see the transition between the black of the image and the black of the border, as depicted in Figure 4.
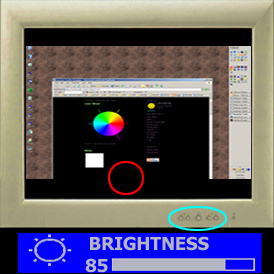
Figure 4: Brightness Setting. |
Looking at the red circle, the black in the image now matches the black of the unused bottom border of the display. |
4. Now adjust the vertical size appropriatly again, to fully fill your monitor's display, as shown in Figure 5.

Figure 5: Reset Vertical Size. |
Adjust vertical size to match the display size to the screen size. |
No comments:
Post a Comment